
🤖🧩 A Quick Guide to Getting Hands on with MCP
In the last few weeks, I started getting hands on with MCP and wanted to dedicate this blog to how I got started, plus some tips and tricks for you to try yourself.
A month or so ago, I wrote a blog called A Conceptual Guide to MCP and mentioned the technology seemed very promising.
I’m excited to share a getting started guide for running MCP locally and even hosting the MCP server in Databricks (which now has a free version you can use!).
As always, the code is open source on GitHub.
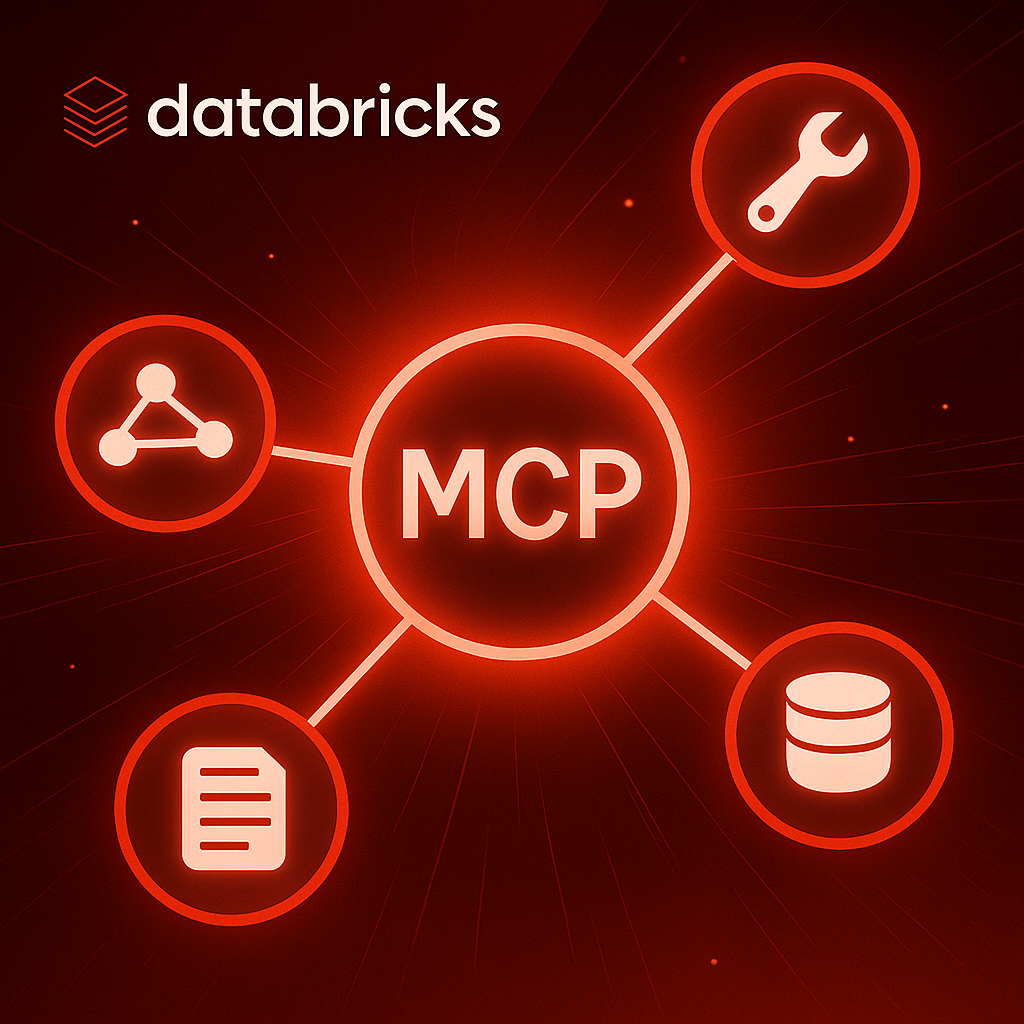
🤷♂️ What is MCP?
⚡ This is just a quick reminder! For a full breakdown, check out my Conceptual Guide to MCP or the detailed blog post linked above.
The Model Context Protocol (MCP) is a standardized way for large language models (LLMs) to connect with external tools and data sources. Just as REST standardized how applications communicate over the web, MCP aims to standardize how LLMs interact with the outside world. 🌍
❓ Why is this important?
- 🤖 LLMs, by default, can’t access anything beyond their training data. MCP enables them to call tools, APIs, and services in a secure, structured way.
- 🛠️ MCP defines clear roles:
- MCP Hosts: Applications (like IDEs or AI tools) that initiate requests.
- MCP Clients: Manage communication between the host and MCP servers.
- MCP Servers: Expose specific functionality (like file access or API calls) via the MCP interface.
- Local Data Sources: Files, databases, or services on your machine that MCP servers can access securely.
- Remote Services: External APIs and cloud systems MCP servers can connect to.
The big idea:
- Developers can build and share MCP servers that expose useful tools or data.
- LLMs (and agents) can discover and use these tools in a standardized, secure way.
- This makes it much easier to build agentic applications that are composable, secure, and vendor-neutral.
In short:
MCP is the missing glue 🧩 that lets LLMs safely and reliably interact with the real world, unlocking new possibilities for automation, integration, and intelligent agents.
🚀 Getting Started: Local Setup
To get hands-on with MCP, you’ll want to try running both an MCP server and a simple agent locally. Here’s a high-level overview of the two main files in the example code:
mcp_server.py: Defines your custom MCP server using thefastmcplibrary. It exposes several fun tools (like weather, jokes, crypto prices, and quotes) that are discoverable by LLMs and agents. All responses are mocked for safety and simplicity. No real API calls are made.agent.py: Shows how to connect an agent to your MCP server. It uses thelangchain_mcp_adaptersandlanggraphlibraries to create an agent that can discover and invoke the tools exposed by your server. The agent sends a sample request (e.g., asking for a crypto price) and prints the response.
To try it out:
- Create a Python virtual environment and install the required libraries.
- Start the MCP server by running
python mcp_server.pyin your terminal. - In a separate terminal, run
python agent.pyto see the agent interact with your server.
If all goes well, you should see something like this:
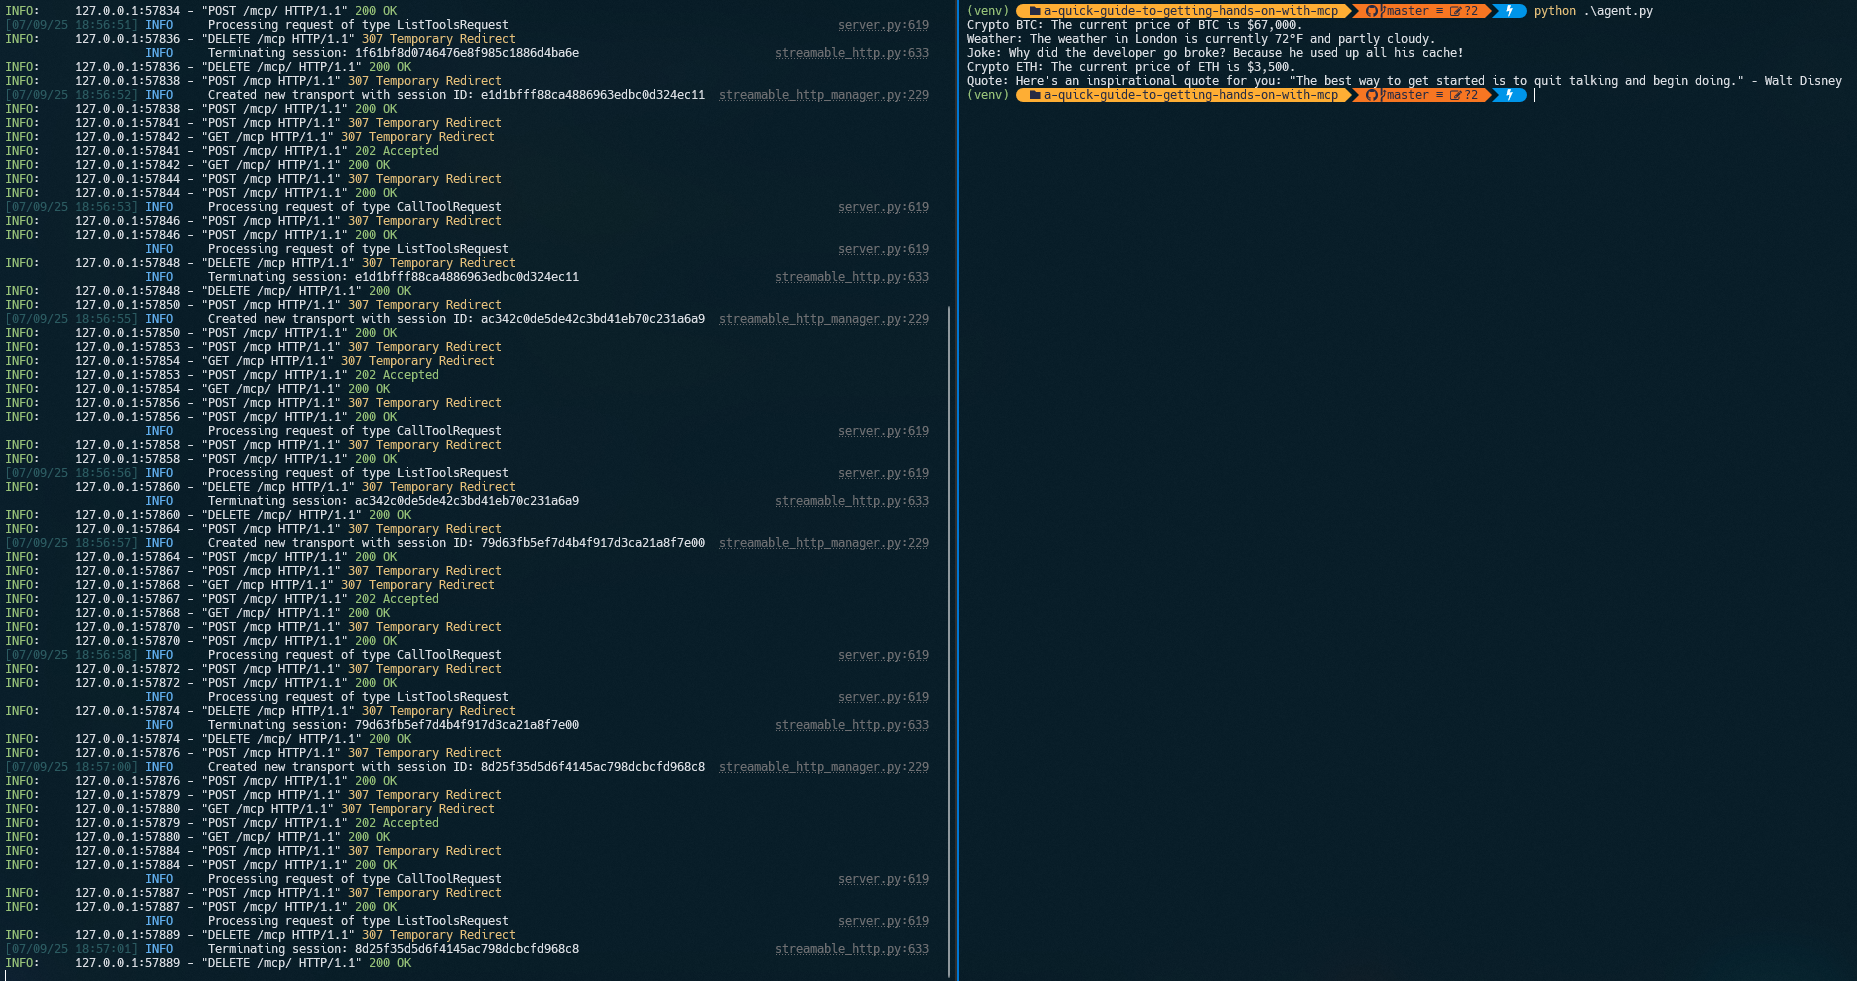
The left side of the screenshot shows the MCP server running and accepting requests; the right side shows the LangGraph agent making requests and receiving responses for each question.
Check out the code for more details and feel free to experiment by adding your own tools!
☁️ Running MCP on Databricks
Hosting your MCP server on Databricks adds a huge amount of value in my opinion. You can run MCP servers on Databricks apps, bringing your application to your data instead of the data to your application.
🤷♂️ Why run MCP on Databricks?
- Proximity to Data: Databricks is often where your most valuable and sensitive data lives. By running your MCP server directly on Databricks, you can securely expose tools and APIs that operate right next to your data, minimizing data movement and maximizing performance.
- Unified Platform: You can integrate your MCP server with Databricks notebooks, jobs, and workflows, making it easy to orchestrate complex data and AI pipelines.
- Security & Governance: Leverage Databricks’ built-in security, access controls, and audit logging to ensure your MCP tools are only accessible to the right users and systems.
- Collaboration: Teams can share and reuse MCP servers as part of Databricks projects, making it easier to standardize and scale best practices across your organization.
- Cost Efficiency: Take advantage of Databricks’ managed infrastructure. No need to maintain separate servers or cloud resources just to host your MCP endpoints.
In short, running MCP on Databricks lets you build powerful, composable AI and data applications that are secure, scalable, and close to your data. Unlocking new possibilities for automation, analytics, and intelligent agents in the enterprise.
🤚 Getting Hands On with Databricks and MCP
Before starting, make sure you have:
- A Databricks workspace
- An empty Databricks App
- The Databricks CLI installed
Step 1: Login with the Databricks CLI
I recommend OAuth user-to-machine (U2M) authentication:
databricks auth login --host <account-console-url> --account-id <account-id>
Step 2: Sync and Deploy Your App
Navigate to the folder: code\a-quick-guide-to-getting-hands-on-with-mcp
Use the Databricks CLI sync and deploy commands to push your MCP server code to the app. (Our MCP server code is here):
DATABRICKS_USERNAME=$(databricks current-user me | jq -r .userName)
databricks sync . "/Users/$DATABRICKS_USERNAME/<the-name-of-your-databricks-app>"
databricks apps deploy <the-name-of-your-databricks-app> --source-code-path "/Workspace/Users/$DATABRICKS_USERNAME/<the-name-of-your-databricks-app>"
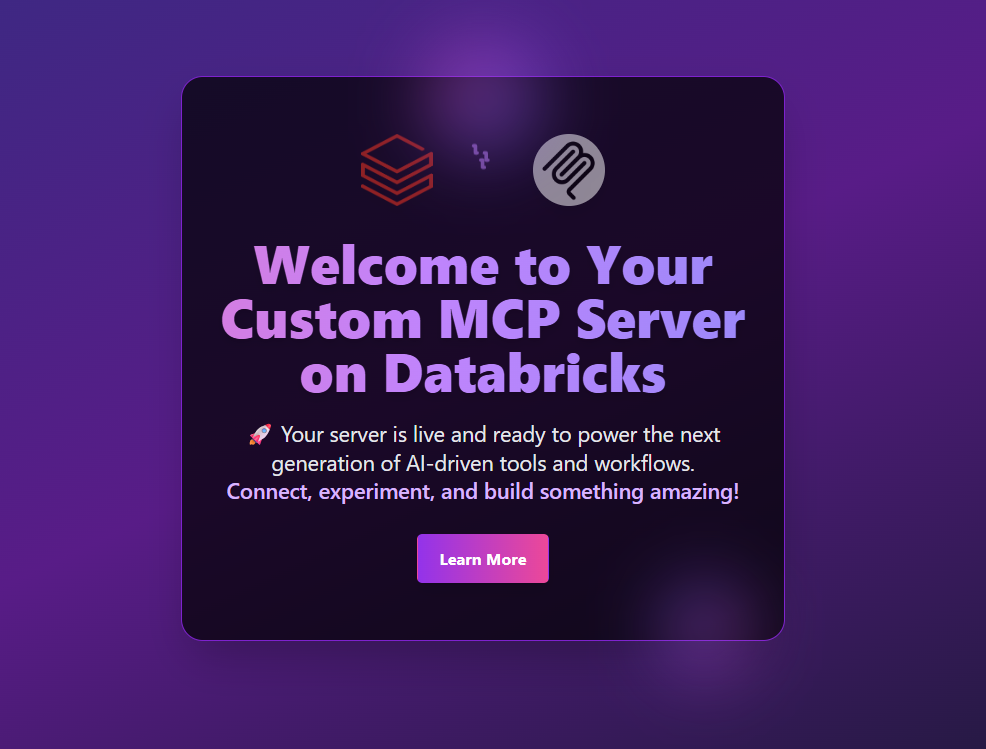
Navigate to your Databricks App URL and you should see a custom landing page:
Now you can take the same LangGraph agent and run it in a Databricks notebook, calling your MCP server.
Heads up: When running locally, our server didn’t have authentication, but the Databricks App will. Thankfully, LangGraph lets you specify HTTP headers in your request to the MCP server. This allows you to specify a bearer token or JWT.
To get your JWT, you can run:
databricks auth token
Note: When connecting to your MCP server from a Databricks notebook, I manually copied and pasted the JWT token as a quick workaround. This is not ideal for production or automation. I’m actively working with Databricks to find a more scalable way to retrieve a token or JWT directly from within a Databricks notebook. Stay tuned for updates!
In the Jupyter notebook, specify the Auth header:
client = MultiServerMCPClient(
    {
        "contract_query": {
            "url": "https://<your_app_url>/mcp/",
            "transport": "streamable_http",
            "headers": {
                "Authorization": "Bearer <insert_your_jwt_here>",
            },
        },
    }
)
Security tip: When running your Databricks notebook, you should ideally store your OpenAI LLM API keys and other sensitive credentials in a Databricks secret scope or integrate with Azure Key Vault. This keeps your secrets secure and out of your code and notebooks.
You should now be able to run the notebook in Databricks and get similar results to what you saw locally.
🎉 Conclusion
Getting hands-on with MCP has honestly been a blast. The tech is still new and there’s a lot to figure out, but it’s clear MCP could become a key piece for building smarter, more connected AI apps. Especially in data-heavy, security-focused industries like energy and utilities.
If you’re even a little bit curious about LLMs, tool use, or making your AI projects more composable and secure, just give MCP a try! Start with something simple, run it locally, and don’t stress if you break things or get stuck. That’s half the fun and the community is open to questions and new ideas.
Note: I am still a bit confused about when to host an MCP server in Databricks versus just using AI Agent tools, but I’m hoping as I play around with it more, it will become clear.
Next steps:
- Try running the example code locally and see what you can build.
- Experiment with adding your own tools to the MCP server.
I’m excited to see what you build next. Happy hacking! 🚀