Integrating Github Actions With Jfrog Artifactory
In this blog, I want to take you through the process of integrating Github actions with a private JFrog Docker repository.
Understanding The Technologies
Before diving into the technical implementation, I want to go through the two technologies in the context of this particular setup.
As software is being released at a faster and faster rate, developers need a method of ensuring code quality before pushing it to production. The fewer manual processes you have between your feature branch and pushing your changes to master, the more efficient this process becomes. This is where CI/CD pipelines come into play and make this whole process much simpler. I have spent most of my time using Azure Pipelines for my CI/CD builds, but I found my knowledge from that platform translated very nicely over to Github actions. As an example, you could have a Github action that generates a docker image as a part of its automated workflow. This docker image is considered a ‘build artifact’ and is going to be used to run your application in various environments. You need a place to store this docker image so it can be consumed. This is where Jfrog comes into play.
As a part of your CI/CD pipeline in Github actions, you could push that docker image to JFrog to be consumed by your downstream applications.
Implementation
Now that I have got the boring pieces out of the way, I want to get into the implementation details. For this example, I will be building a Java application into a docker image, and storing that image in a private Docker JFrog repository.
JFrog Setup
Login to Jfrog and generate an API key. This can be done by navigating to ‘Edit Profile’ > ‘Authentication Settings’.
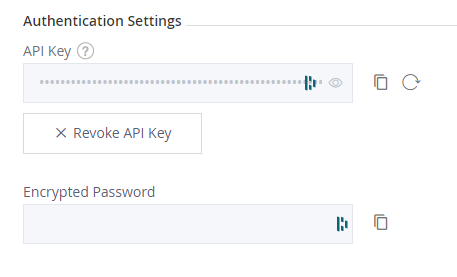
This API key will be used by Github actions to authenticate against JFrog.
Github Setup
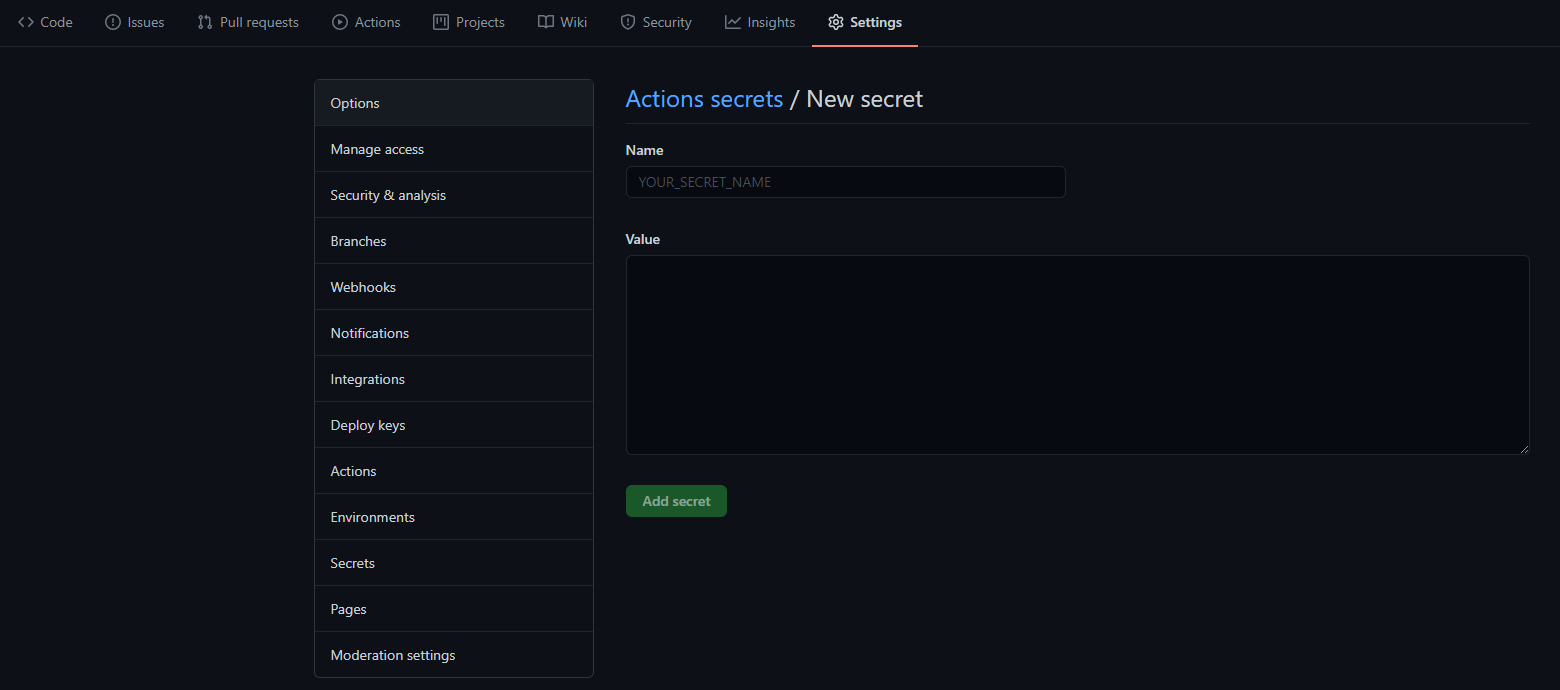
Inside Github you will need to create two secrets in the repo.
- JFROG_USERNAME
- JFROG_API_KEY
You can create secrets ‘Settings’ > ‘Secrets’ > ‘New repository secret’
Once the above secrets are created, you can take the below YAML configuration for your Github action. The key steps to note below are as follows:
-
Login to JFrog Registry:
This piece uses the ‘docker login’ command the the -u and -p flags to pass the Github secrets created earlier, to the command Note: the -u and -p values should look similar to this:

Due to a strange format issue on my site, I was unable to add this to the YAML snippet below.
-
Push Docker Image
This part will build the docker image and tag it with the hash of the git commit and push it to JFrog
name: Deploy_To_JFrog

on:
  push:
    branches:
    - main

jobs:
  build:
    runs-on: ubuntu-latest

    steps:
      - uses: actions/checkout@v2
      - name: Set up JDK 11
        uses: actions/setup-java@v2
        with:
          java-version: '11'
          distribution: 'adopt'
      - name: Build with Maven
        run: mvn clean install
      - name: "Login to JFrog Registry"
        run: docker login <insert_your_endpoint_here>.jfrog.io -u secrets.JFROG_USERNAME -p secrets.JFROG_API_KEY
      - name: "Push Docker Image"
        run: |
          git_hash=$(git rev-parse --short "$GITHUB_SHA")
          docker build -t app .
          docker tag app <insert_your_endpoint_here>.jfrog.io/app:$git_hash
          docker push <insert_your_endpoint_here>.jfrog.io/app:$git_hash
Results
You should see a new docker image tagged with the commit hash of your most recent git commit